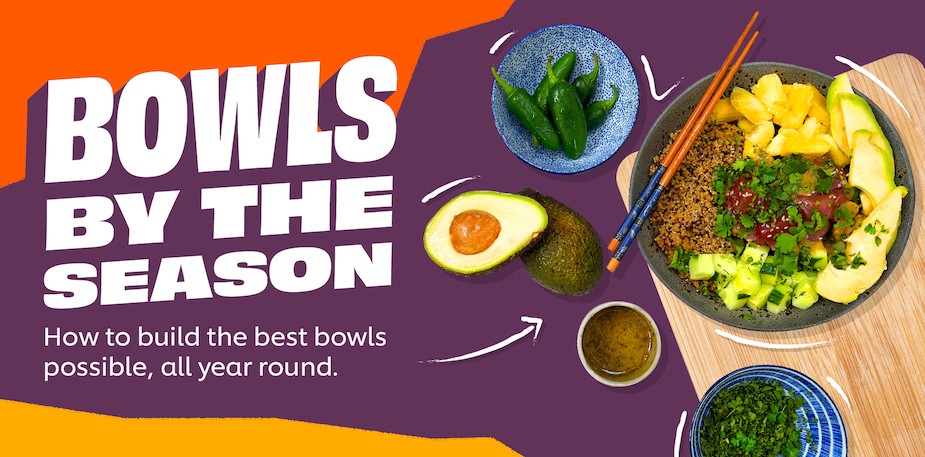
Tip 1 – Make the dish the focus
You want your dish to take centre stage, to ensure the position of other ingredients/props compliment the set up.
- Addition of props can create a story. For example, featuring plants gives your shot a natural vibe.
- Use specific focus settings to zone in on the food while background is slightly out of focus. This adds an extra “layer” and keeps the eye on the main dish.

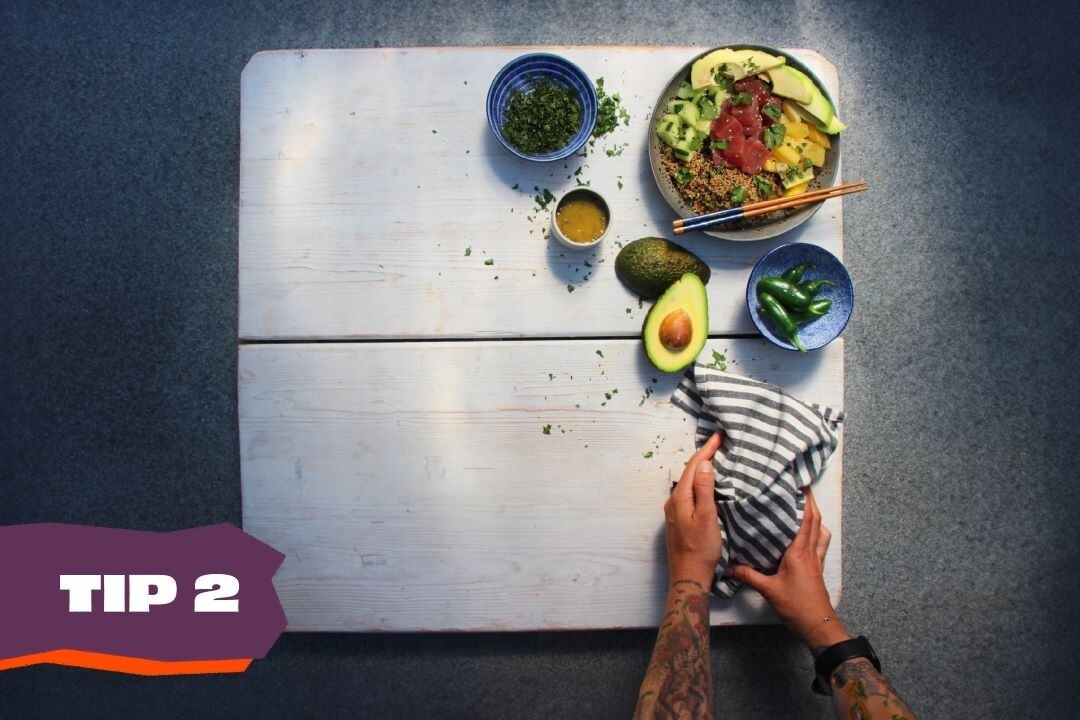
Tip 2 – Negative space is a positive
You don’t have to fill all the space in your shots.
- Negative space Is a great way to avoid crowding your dishes so you don’t divert the viewer’s eye.
- The ‘rule of thirds’ helps you use negative space. Simply divide your photo into nine equal parts and the main dish sits in the left or right third of your image so the other two thirds are uncluttered.
- This is a good technique if you want to add copy without encroaching the image.
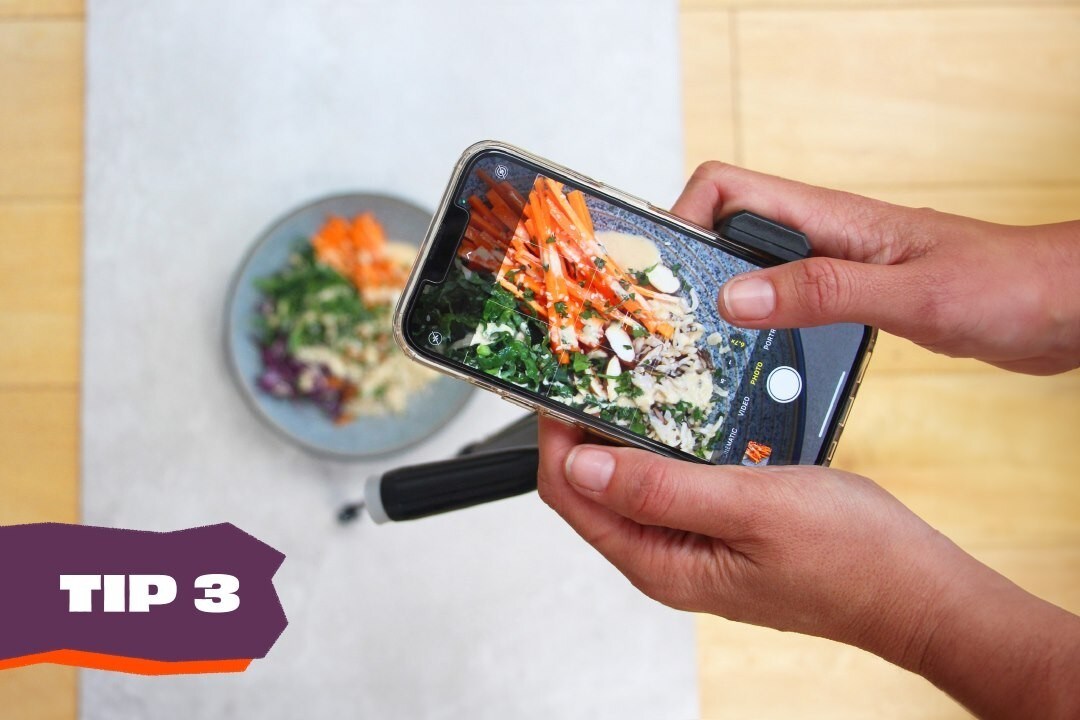
Tip 3 – Get up close
Capturing close up shots showcases your culinary skills.
- People often ‘eat with their eyes’. Focusing more closely on ingredients and showcasing color allows guests to imagine how the food tastes and brings flavor to life.
- Close up detail on the preparation methods such as the slight char on sweetcorn or the crispy texture of the falafels makes for a more appetising shot.
Tip 4 – Create extra layers
Adding layers is a cool way to create interest in your shot.
- Create a tablescape. Soft napkins add depth, whilst chopsticks draw focus to the dish.
- Layers help show a variety of meals or dish pairings together. You choose what gets priority and is in the foreground.
- Make sure any items you add in are relevant. Are you improving the composition or adding things for the sake of it? Sometimes less is more.

Tip 5 – Capturing movement in a still
Capturing movement such as pouring, preparation or cooking technique can make your dish look cool and it’s easier than you think.
- Simply use fast shutter speeds. This is achievable on most modern phones.
- A shutter speed of 1/500th of a second should be fast enough to freeze the movement without compromising on the sharpness.
Tip 6 – Show your shot in the best light
Lighting is key to any shot. Do you want a hard shadow or a soft one? What tone are you trying to achieve.
- By using artificial light you can really focus on key areas of the dish. However, it’s a good idea to use natural light where possible.
- Adding objects creates shadowing and gives your shot depth.
- Why not experiment with the shadow of a plant and the light coming through the leaves?
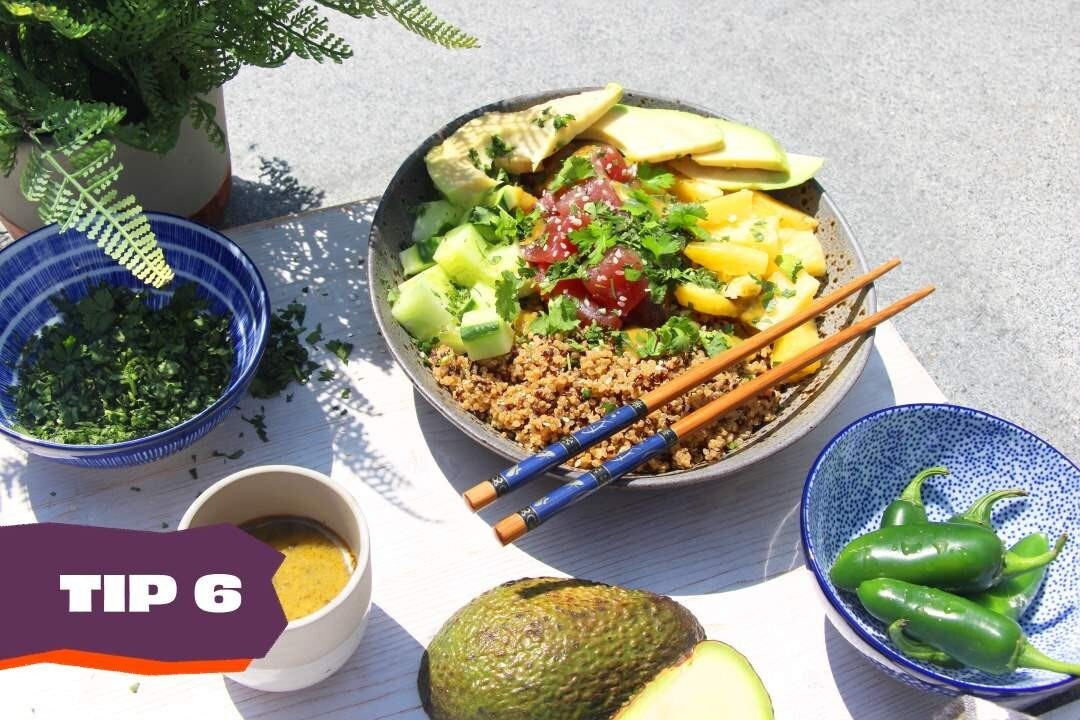
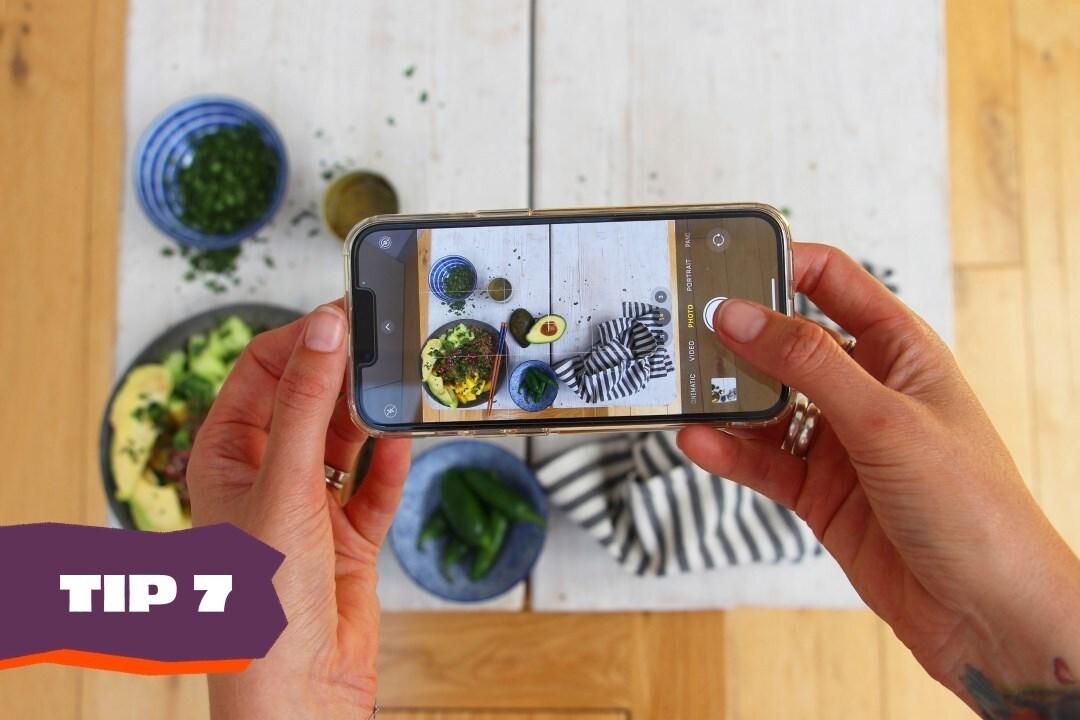
Tip 7 – The right angle
Before you start taking photos, consider your angle.
- For layered dishes like burgers, or cakes, shooting them from the side adds more depth. But for “flat” dishes like pizza or bowls, aerial shots work better.
- Whichever angle you choose, make sure it helps you maximize capturing all the ingredients in your dish.
It’s also worth considering the background and what’s in it. Showing a hint of your front of house gives guests a sense of their potential restaurant experience.
But does the background match the style of the shot?
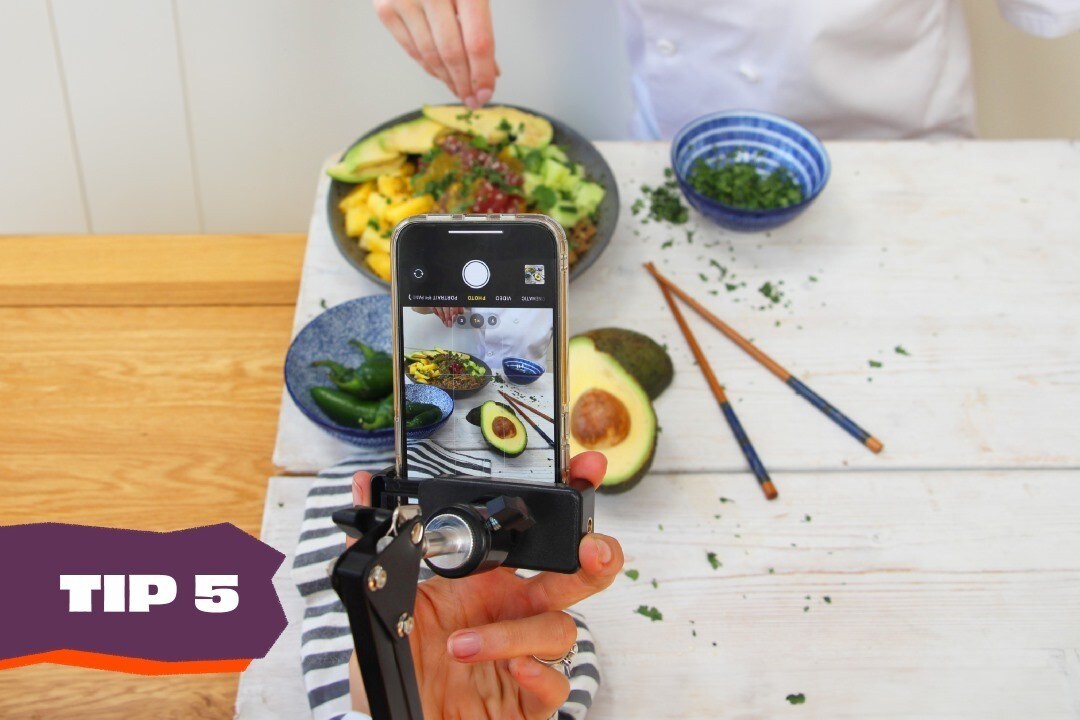
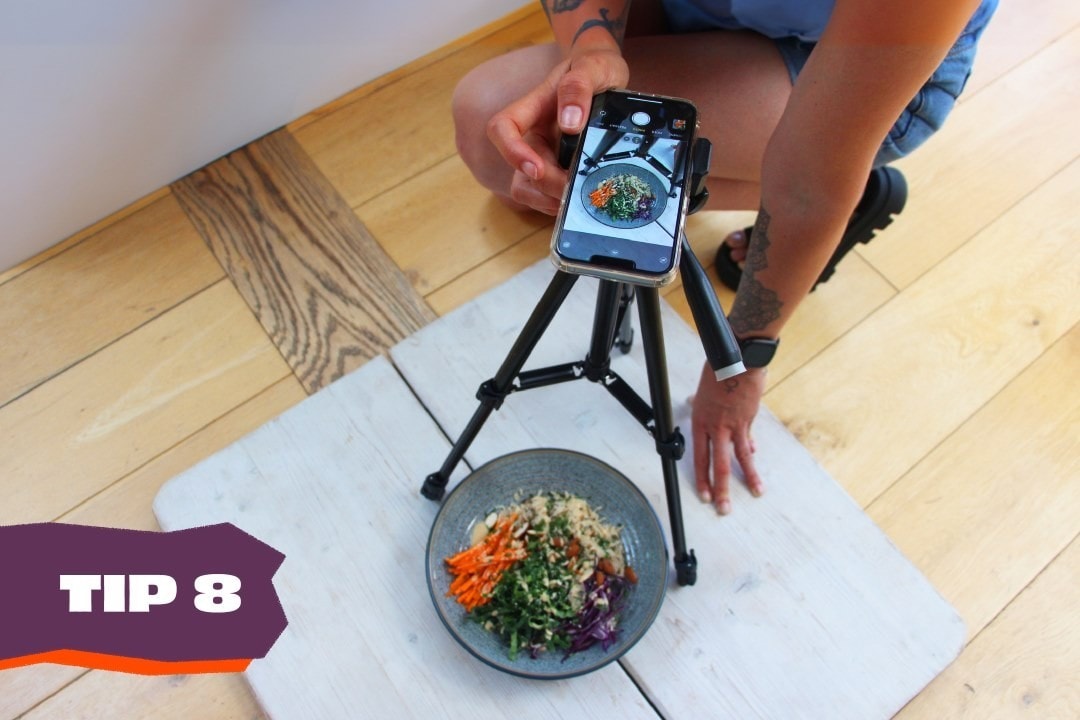
Tip 8 – Use a tripod or level
Using a tripod or phone holder helps you keep your camera and take better shots.
- This is especially key when setting up overhead shots or when capturing movement is key.
- Using a tripod is handy for exploring different angles and consistency if you’re shooting lots of shots from the same position.
One watchout - be aware of tripod legs, wires etc. The last thing you want is an accident on the shoot.
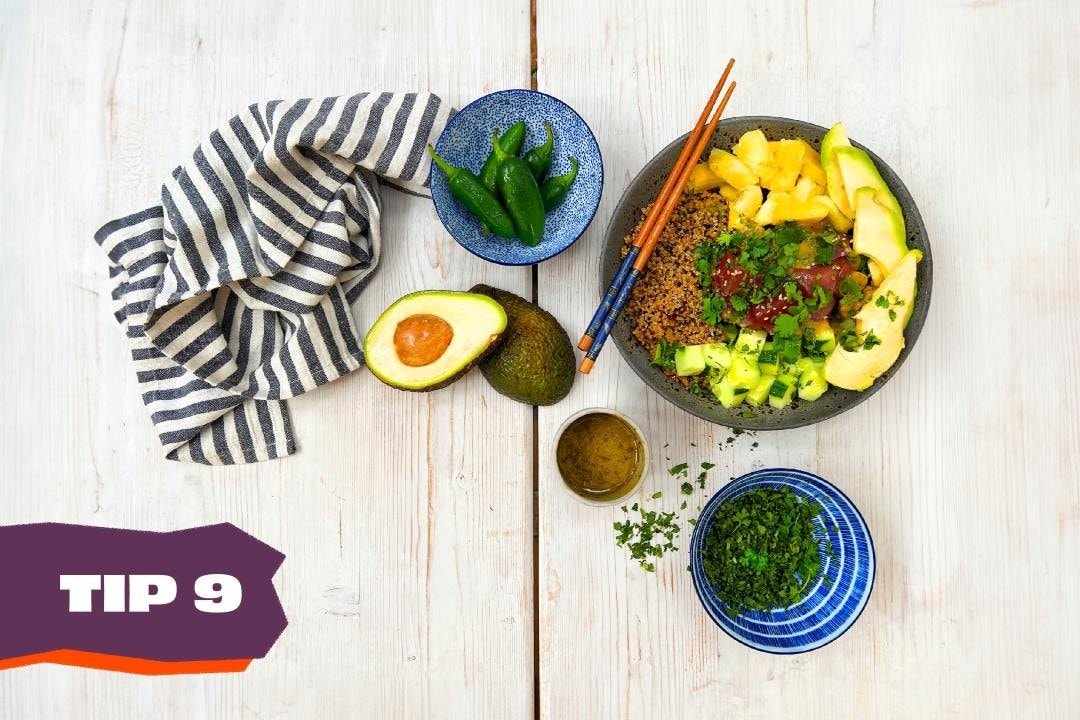
Tip 9 – Don’t let unwanted items intrude your shot
Don’t waste time editing out things that didn’t need to be in there. Keep your shots clean.
- What’s visible in frame? Is there anything in the background that doesn’t need to be there?
- There’s a difference between set dressing and featuring unwanted elements. Things like delicately placed crumbs are great additions as long as they don’t detract from your hero dish.
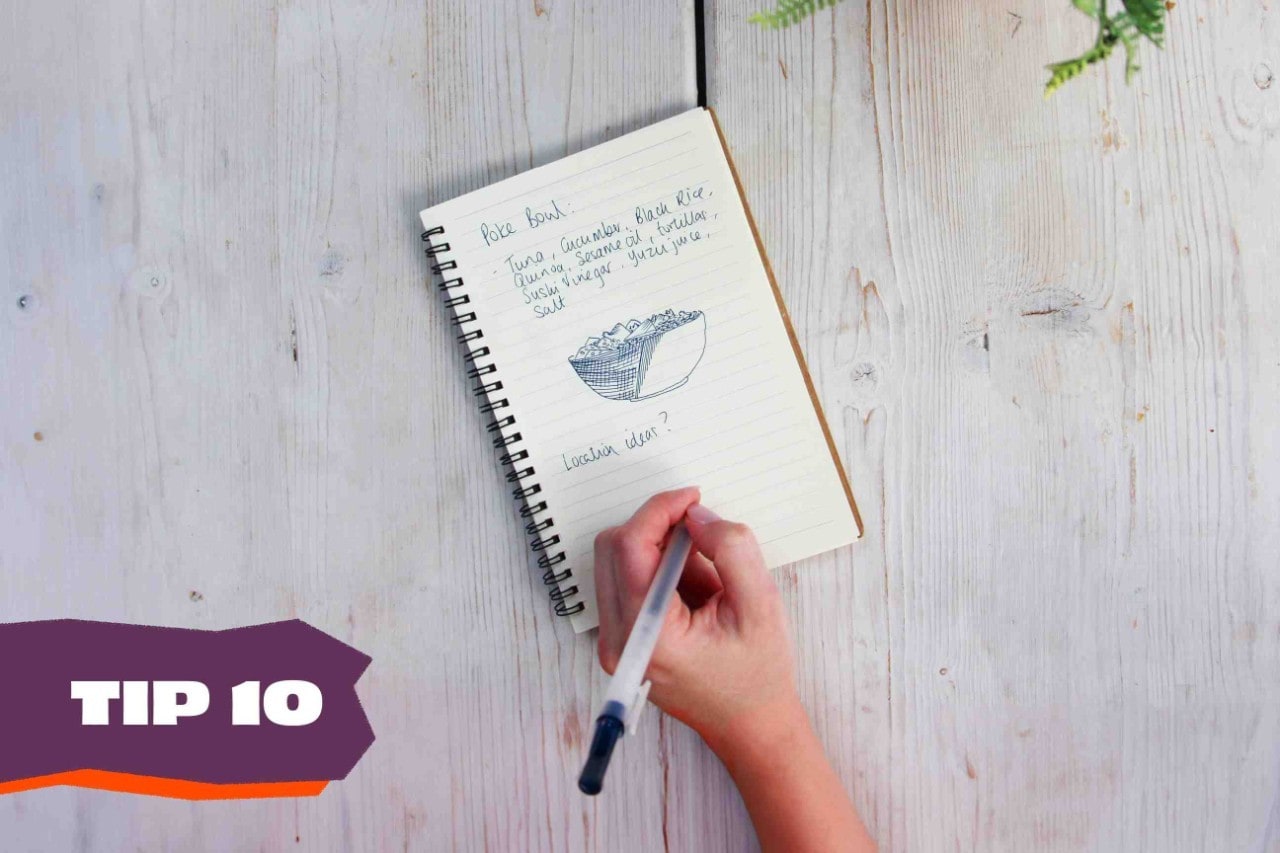
Tip 10 – Plan your shot
Plan ahead. Think about the dishes and what you want to achieve.
- If you need props, get them in advance. Getting the right plate in time for your shoot can be really hard.
- Where are you taking the photo? What space do you need? Are you shooting inside or outside? What are the weather conditions going to be like on the day?
- Don’t try to capture during a busy service unless you want extras in the shot to add authenticity. Also, remember that you may need permission to post.